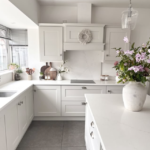
Let’s face it—traditional ‘boob lights’ leave much to be desired. While these fixtures are budget-friendly, they often detract from a room’s overall aesthetic, earning their notorious nickname. It’s time to move away from these unattractive options and embrace alternatives that are elegant, striking, and far more visually appealing! Here are some fantastic ideas for replacing your boob lights!

Elegant Boob Light Alternatives
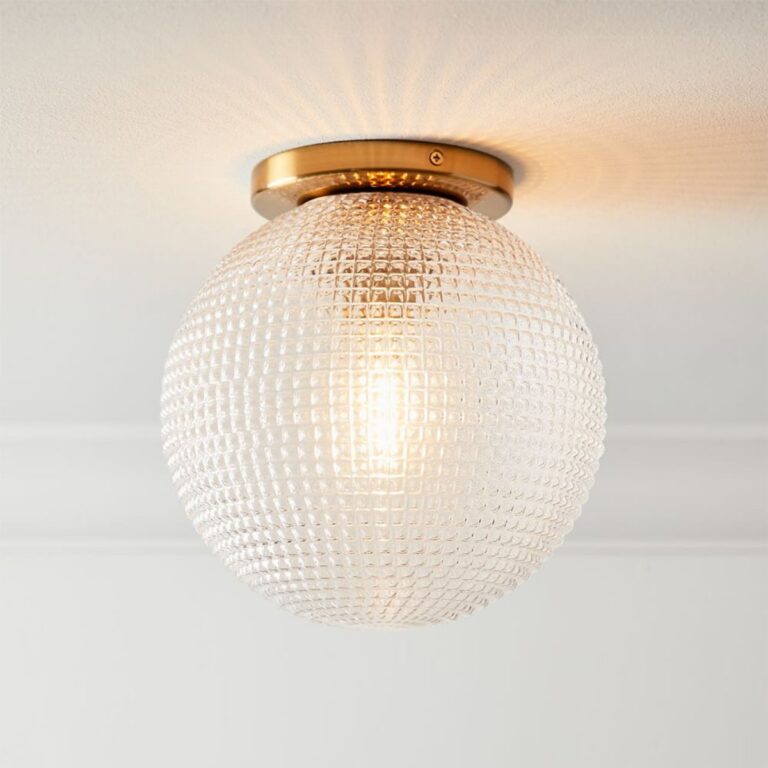
For a stylish upgrade with minimal electrical work, consider eye-catching options in brass, milk glass, black, or linen. If you prefer your lighting to stand out as a centerpiece, opting for a semi-flush fixture can make a statement. These fixtures typically hang a bit lower, often featuring exquisite brass, nickel, or matte black finishes.
- White Rattan Flushmount
- Edie Prismatic Flushmount in Antique Brass
- Naomi Flush Mount
- Madelyn Faceted Flush Mount
- Oahu Fringe Flush Mount
- Simple Drum Flush Mount
- Ariel Fluted Marble Flush Mount Light
- Glass Shaded Dome Flush Mount

Steps to Replace a Boob Light
Choose Your Replacement Fixture
Before you get started, pick out your new flush-mount or semi-flush-mount fixture to replace the old boob light. There’s no reason to prolong this project when you can achieve satisfying results quickly.
Remove the Finial
The first step with boob lights is to loosen the small, unattractive element in the center (the finial). As it loosens, the shade—the actual ‘boob’—will come off, giving you access to the fixture’s hardware. If your light doesn’t have a finial, it might just require a twist to remove the shade.
Detach the Fixture
Locate the screws that hold the fixture’s outer ring to the ceiling and remove them using either a drill or screwdriver, depending on your comfort level. Once you’ve done this, allow the fixture to hang from the visible electrical wires. If you haven’t already switched off the power at the breaker, do so now.

Manage the Wiring
You’ll find three wires emerging from your fixture: the “hot” (black), “neutral” (white), and “ground” (copper). Pay attention to how these wires are connected, as you’ll need to replicate this during installation. Carefully detach each wire from its ceiling counterpart, taking care to support the fixture as you do so. Once all three are disconnected, the fixture should come off the ceiling easily. (The thought of tossing it might cross your mind, but we discourage that!)
Attach the New Bracket
Now, take the bracket of your stunning new fixture and screw it into the hole exposed in the ceiling. If you’re uncertain about installation, refer to pictures in this guide. When working with electrical components, prioritizing safety is essential.
Reconnect the Wires
With your new bracket in place, it’s time to reconnect the wires you previously detached. Each wire on the new fixture should have about half an inch of exposed metal at the ends. Attach them in this order: hot to hot, neutral to neutral, and ground to ground. If needed, use wire strippers to expose enough wire for a secure connection. Once you’ve wired everything appropriately, refer to your fixture’s instructions to properly secure it to the bracket.
Power It Up
After inserting lightbulbs and tightening everything as needed, turn the power back on and check your work. If all has gone smoothly, you’ve successfully replaced the boob light with a stylish new fixture that brightens up the space. Now, let’s focus on the fun part!
Chic Replacement Ideas for Boob Lights
If you’re aiming for a sophisticated look that blends seamlessly into your decor, choose a flush mount option. These fixtures sit closer to the ceiling, offering a chic surprise when you glance upwards.
- Starburst Flush Mount
- Mari Brass Milk Glass Flush Mount Light
- Pirouette Flush Mount
- Caufield Metal Dome Flush Mount
- Hyndburn Flush Mount
- Daisy Capiz Flush Mount
- Elora Flush Mount
- Unique/Statement Bowl Flush Mount
- Marquise Lantern Flush Mount