









Learning how to wire low voltage outdoor lights for beginners starts with a simple plan: choose a transformer and fixtures that work together, map the cable route, then make protected connections before burying the wire. Most landscape-lighting systems use a transformer to reduce household power to a lower voltage, but the work still deserves careful handling.
Lay out every fixture first and test the system above ground. This makes it much easier to correct spacing, polarity, loose connections, or dim fixtures before the cable disappears beneath mulch or soil.
In this article
Choose Cable for the Planned Run

Image credit: haisstronica.com
Start by planning the route from the transformer to each fixture. Measure the route along the ground rather than estimating a straight line; curves around beds, paths, and planting areas add length quickly.
Use landscape cable rated for outdoor direct burial, and select the wire gauge with the run length and total fixture load in mind. Longer runs and larger loads need heavier wire to reduce resistance. Leave a little extra cable at fixtures for adjustments, but avoid creating large buried coils.
Keep the cable route clear of places likely to be dug later. Mark its path on a simple yard sketch so future planting or edging work does not damage it.
Source: How Far Can You Run 12/2 Low-Voltage Landscape Wire?
Set the Transformer Before Digging
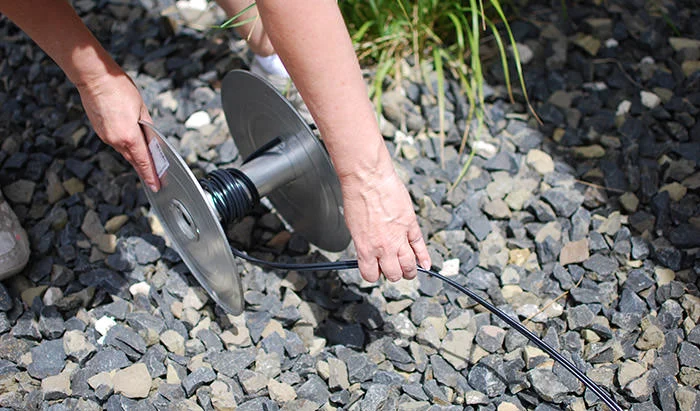
Image credit: thegardenglove.com
Mount the transformer near a suitable exterior power source, following the manufacturer’s instructions for location, weather exposure, and connection. Keep it accessible: timers, photocells, terminals, and resets are much easier to use when the unit is not hidden behind shrubs.
Before attaching cable, add up the wattage or power draw of the fixtures you intend to use. Select a transformer with enough capacity for that planned load and some room for modest future additions. Do not exceed the manufacturer’s stated limit.
With the fixtures laid out, run the cable across the yard without burying it. This dry layout confirms that each lead reaches comfortably and helps you spot awkward routing before installation begins.
Source: How To Install Low Voltage Outdoor Landscape Lighting • The Garden Glove
Make Every Connection Weather-Ready

Image credit: familyhandyman.com
Turn off or unplug the transformer before working on terminals or fixture connections. Strip only the amount of insulation specified by the connector maker, then join conductors using connectors approved for wet outdoor locations.
A connection that feels secure can still fail if moisture reaches bare copper. Seat wires fully, close the connector as directed, and keep splices protected rather than relying on indoor-style wire nuts or exposed twists.
Connect one fixture at a time and gently tug each wire to check that it is held. If a fixture does not light during testing, inspect that local connection first before assuming the fixture or transformer is faulty.
Source: Outdoor Low Voltage Lighting (DIY) | Family Handyman
Test Fixtures Before Burying Cable
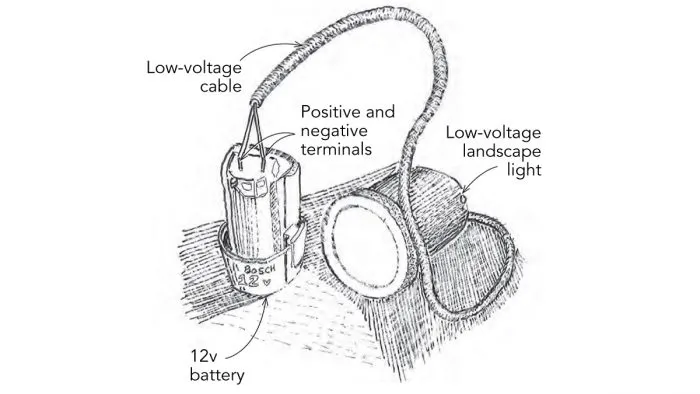
Image credit: finehomebuilding.com
Test the layout while the cable and connectors remain visible. Switch on the transformer after connections are complete, then check each fixture for consistent operation and aim the light where it is needed.
Testing early isolates problems while access is easy. A fixture that stays dark may have a loose connector, damaged lead, or incorrect terminal attachment. A noticeably weaker light at the far end can point to a run that is too long or too heavily loaded.
Make corrections now, then test again after repositioning fixtures. Once the system operates reliably, turn power off before covering cable and finishing the landscape.
Source: Portable Landscape-Light Tester – Fine Homebuilding
Prevent Dim Lights on Long Runs
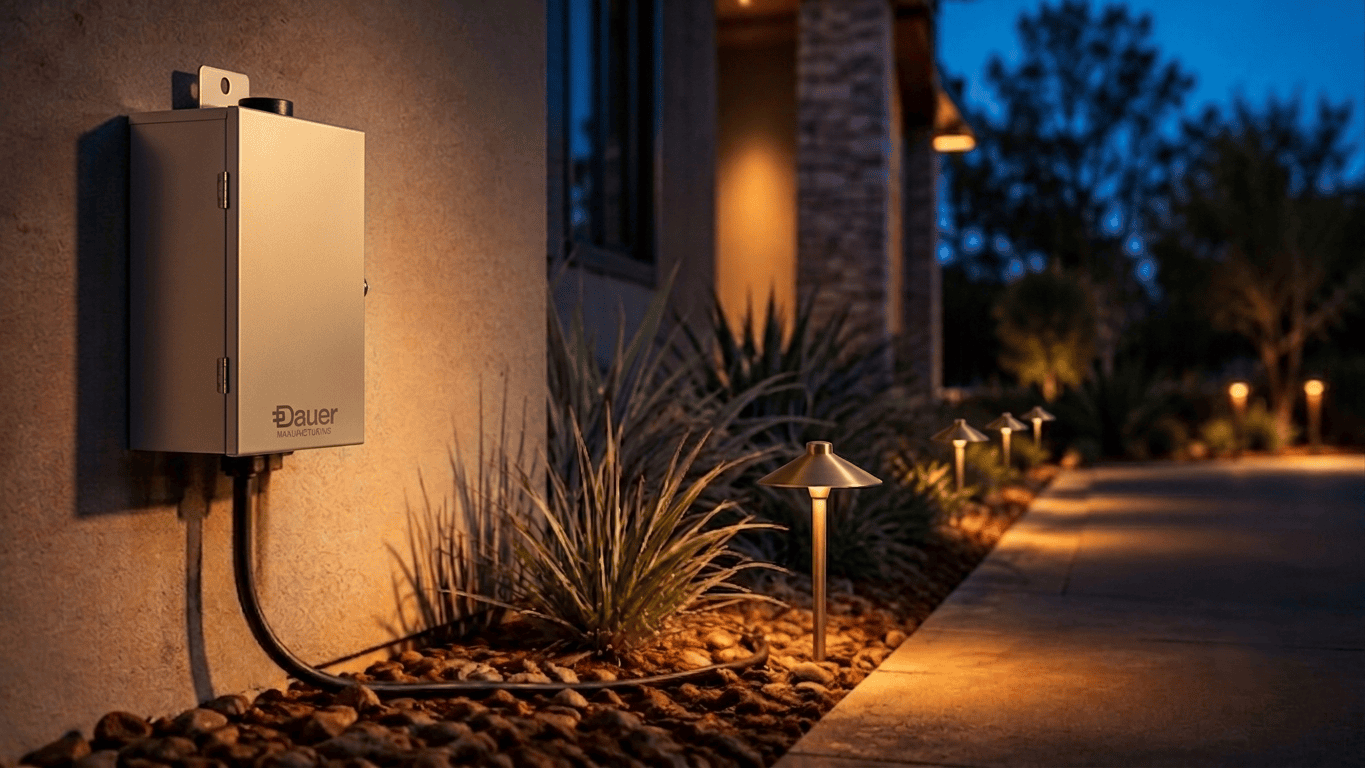
Image credit: dauermanufacturing.com
Voltage drop is the gradual loss of voltage along a cable run. It becomes more noticeable as the cable gets longer or as more fixtures draw power from the same run, often leaving distant lights dimmer than nearby ones.
Plan against it before installation. Shorten runs where possible, use an appropriately heavier gauge wire for distance and load, and avoid crowding too many fixtures onto one route. Dividing the layout across separate transformer outputs, if the equipment supports it, can also help balance the system.
After dark, compare the brightness of fixtures near and far from the transformer. If the far end looks weak, revisit the run design and connector quality rather than simply adding more fixtures.
Source: Voltage Drop & Wire Gauge: Low-Voltage Lighting Guide
Before you bury anything, label the transformer runs and save a sketch showing the cable routes and fixture locations. Then check the system again after dark, looking for loose connections, poorly aimed beams, and uneven brightness.
A careful above-ground test is the beginner’s best shortcut: it turns cable burial into the final step, not the moment you discover a wiring problem.
FAQ
Do low-voltage outdoor lights need to be buried?
Outdoor landscape cable is commonly routed in a shallow protected trench or beneath mulch, following local requirements and the cable manufacturer’s instructions. Keep it away from areas that may be dug.
Can I connect low-voltage landscape lights in any order?
Fixtures can be arranged in different layouts, but wire length and total load affect brightness. Plan the run before installation and avoid overloading a long cable route.
Why are my landscape lights dim at the end of the line?
The most likely cause is voltage drop from a long run, undersized wire, excessive load, or a poor connection. Check connections first, then reassess the cable gauge and layout.
Should I test low-voltage lights before burying the wire?
Yes. Test every fixture and connection above ground first so you can correct faults, brightness differences, and placement issues without reopening the landscape.